
Customize the Author Box
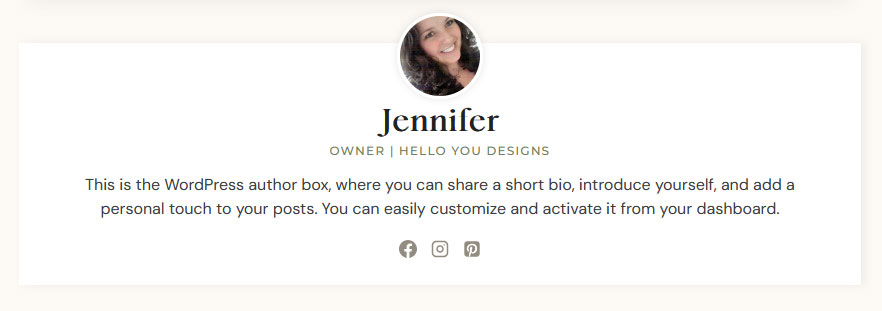
The Author Box appears at the bottom of your blog posts and displays your name, profile photo, bio, occupation, and social media links.
Enable the Author Box
Step 1: From your WordPress dashboard, go to Appearance → Customize → Posts/Pages Layout → Single Post Layout.
Step 2: Scroll down to Show Post Author Box.
Step 3: Turn the setting On to display the author box or Off to hide it.
Step 4: Choose either the Normal or Center layout.
Step 5: (Optional) Enable Use Author Archive Link if you’d like visitors to be able to click your name to view all of your blog posts.
Update Your Author Information
The information displayed in the Author Box is pulled directly from your WordPress user profile.
Step 1: Go to Users → All Users.
Step 2: Select the user you’d like to edit.
Step 3: Update any of the following information:
- Display Name – Enter a nickname and choose it under Display name publicly as.
- Biographical Info – Displays below your name in the Author Box.
- Occupation – Displays below your name (if supported by your theme).
- Social Media Links – Add links to your social profiles to display social icons.
Change Your Profile Picture
WordPress uses Gravatar for author profile photos.
Step 1: In your user profile, click the Gravatar link next to Profile Picture.
Step 2: Sign in or create a free Gravatar account using the same email address as your WordPress account.
Step 3: Upload your profile photo.
Helpful Tip: It may take a few minutes for your new profile picture to appear on your website.
Profile Picture Not Showing?
If your profile picture isn’t displaying:
Step 1: Go to Settings → Discussion.
Step 2: Scroll down to the Avatars section.
Step 3: Make sure Show Avatars is enabled.
Step 4: Select Gravatar Logo as the default avatar.
Helpful Tip: The Author Box displays information from your WordPress user profile. Updating your profile automatically updates the Author Box everywhere it appears on your website.