Theme Documentation
Hello Blogger
Your go-to resource for everything about your theme. Find setup guides, customization tips, and answers to common questions.
Theme Overview
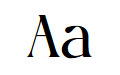
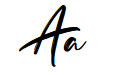
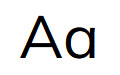
Here you will find the basics to run your theme like the demo. We have also included additional details like the fonts, and demo colors.
Plugins
* are required for theme function
Requirements
WordPress 6.3+
PHP 8.2+
Required Plugins x2

Recommended
Image Guidelines
Upload images that match the aspect ratio of your layout for the best quality, performance, and responsive display.
Common Image Sizes
These are the image ratios you’ll see used throughout the demo.
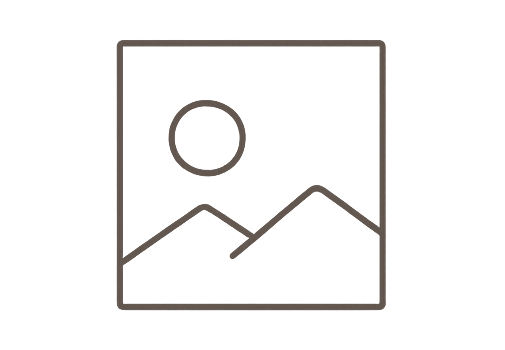
1:1
Square
Perfect for categories, profile photos, & products
Recommended width:
Up to 1200px
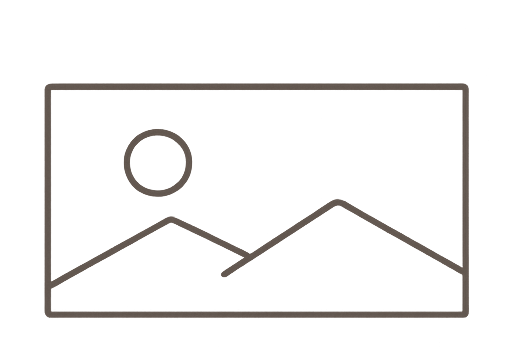
16:9
Landscape
Ideal for hero sections, banners, and full-width images.
Recommended width:
Up to 1900px
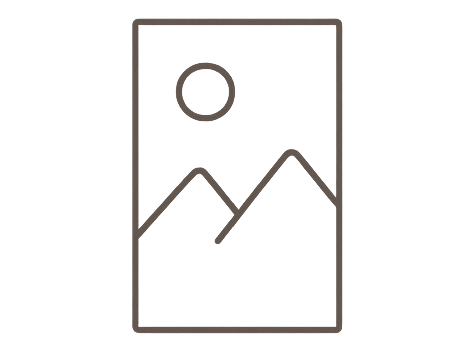
3:4
Portrait
Perfect for featured images, blog posts, and post cards.
Recommended width:
Up to 1200px
Custom Code
Built-In Styling Options
These custom styles are included with your theme. Browse the tutorials below to learn how each one works.
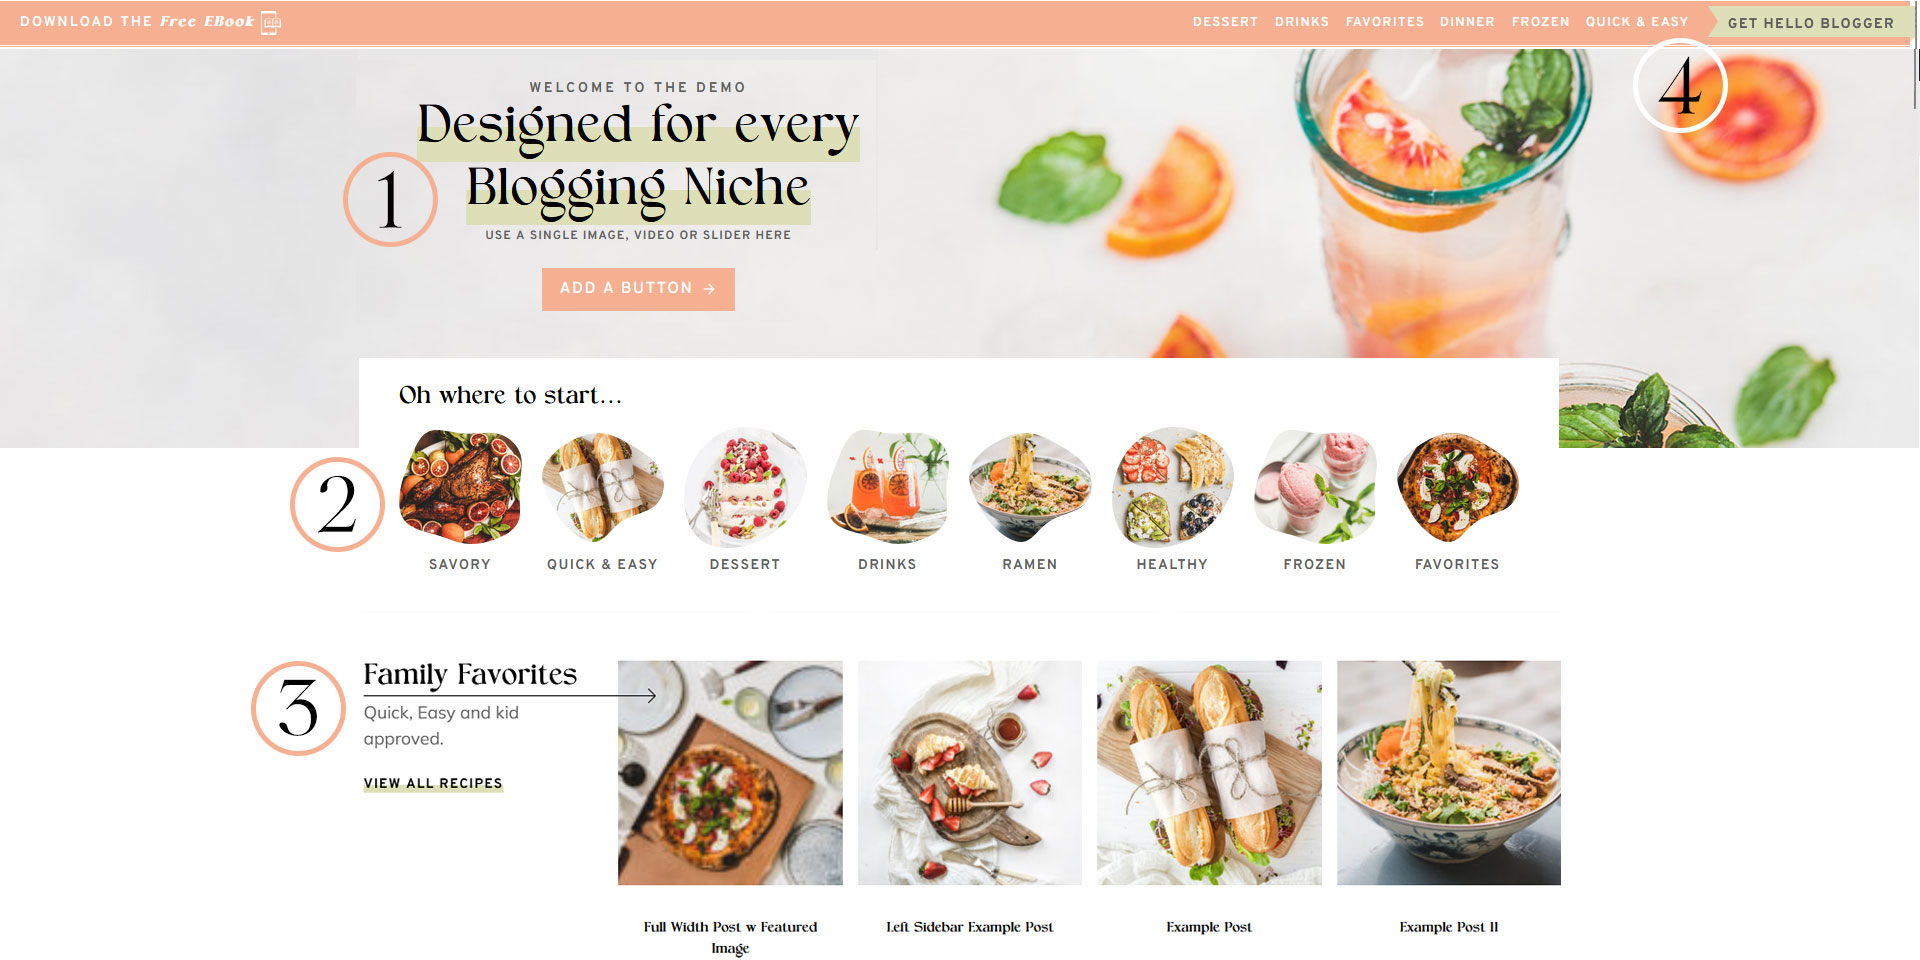
What it does
Creates the half underline highlight used throughout the Hello Blogger demo. Unlike the default Kadence highlight, this custom style creates a shorter underline with a cleaner editorial look.
Example
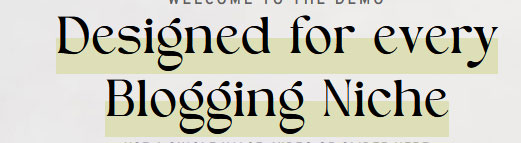
How to use it
Add an Advanced Heading block.
Type your heading, then highlight the word or phrase you want to underline.
From the formatting dropdown, choose ADV Highlight.
Open the Advanced tab in the block settings and add the CSS class: hyd-highlight
Click save and preview on the live page. You will not see changes in the editor.
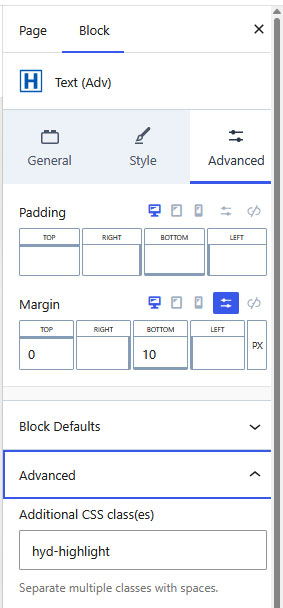
Styling Help
The underline color is controlled by Palette #1.
Want a different text color? Simply change the heading color in Style → Advanced Highlight Settings.
Click to copy.
Remove Effect
To disable this styling across your entire website, add the following to Appearance → Customize → Additional CSS.
Note: This disables the effect globally. Remove this CSS at any time to restore the custom underline styling.
What it does
Applies one of the custom image masks used throughout the Hello Blogger demo.
Example
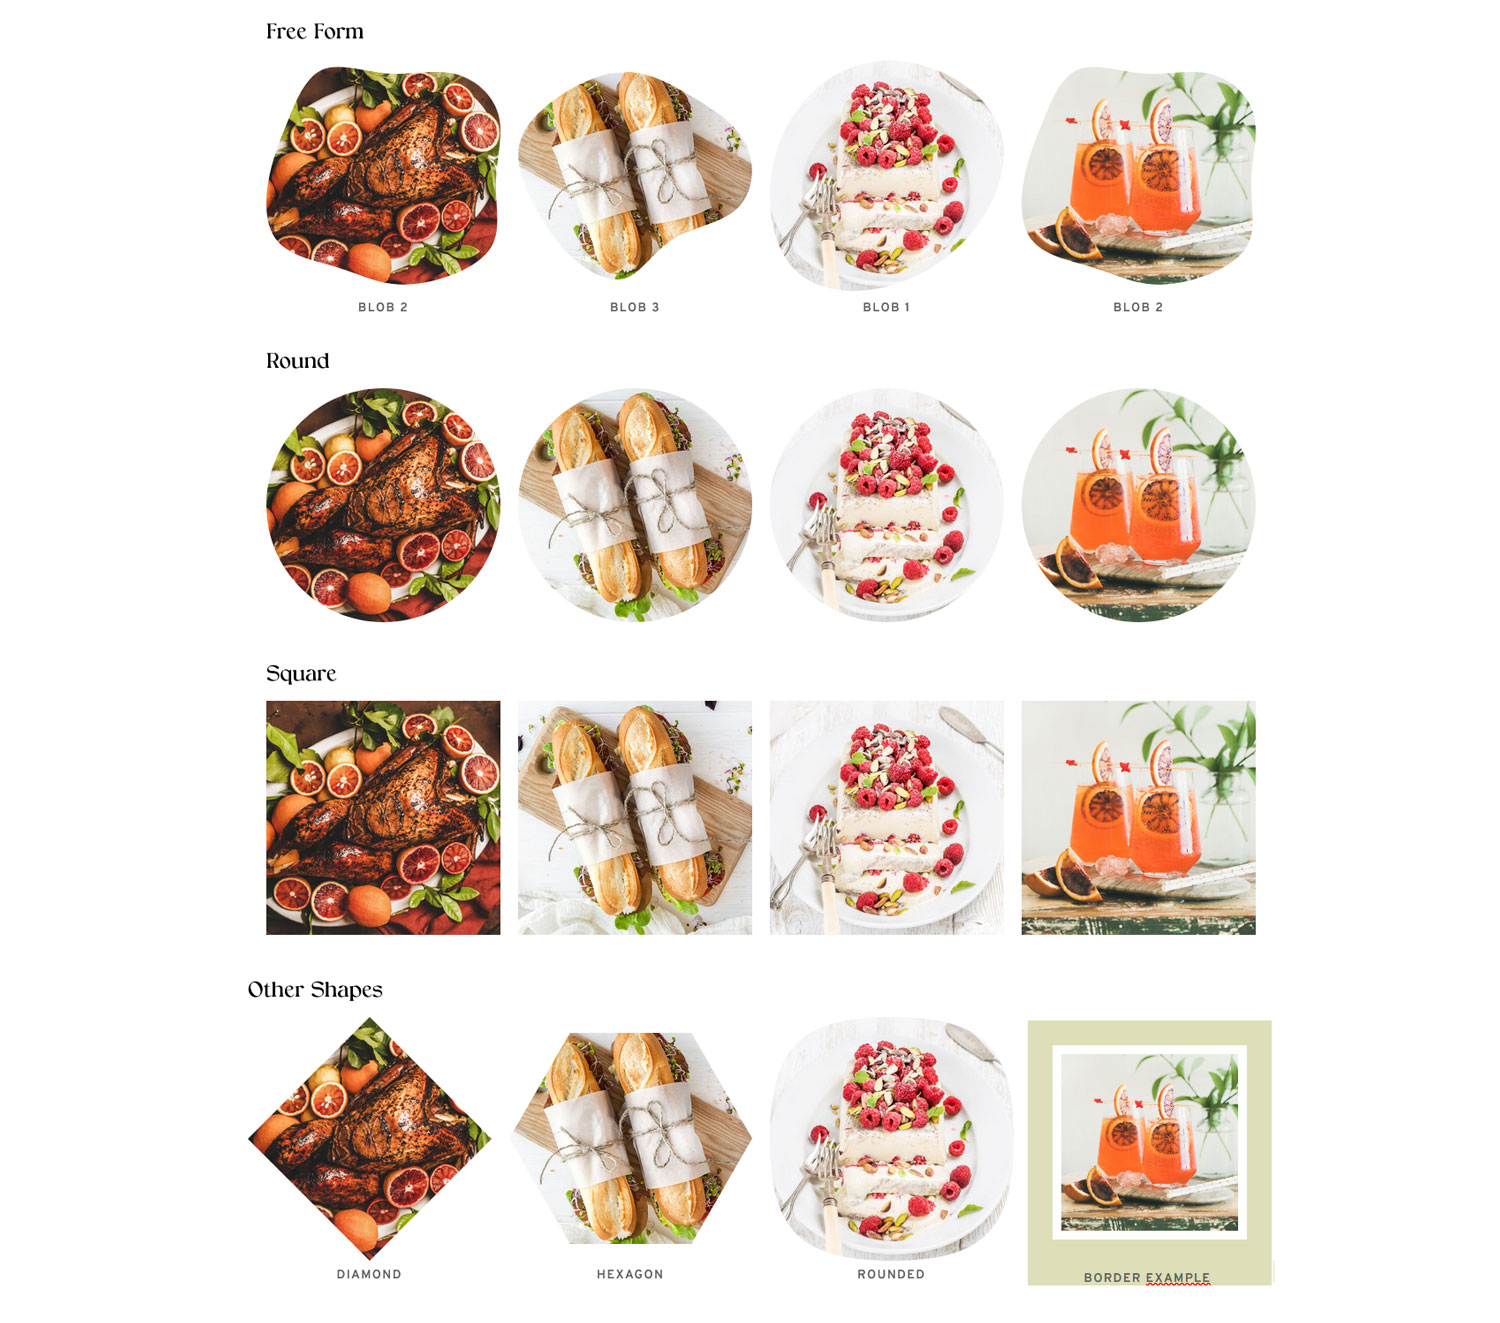
How to use it
Click the image you want to edit.
Open the Style tab in the editor.
Scroll to Mask Settings.
Choose the mask shape you’d like from the dropdown.
Save your page.
Quick Tip
Different image sizes may display masks slightly differently. Crop or resize your image if needed for the best result.
What it does
Adds a decorative left or right arrow between sections using a Spacer/Divider block. The arrow color automatically matches the divider color you choose.
Example
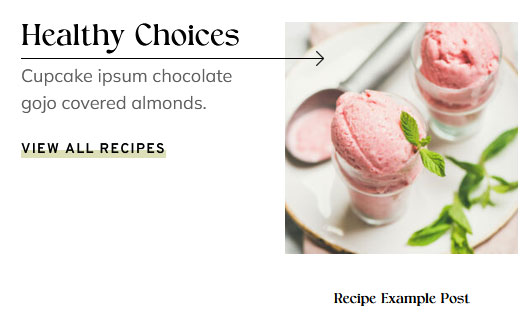
How to use it
Add a Spacer/Divider block.
Set the divider color to the color you’d like your arrow to be.
Open the Advanced tab in the block settings and add a CSS Class to the Additional CSS Class(es) spot
hyd-larrow — Left arrow
hyd-rarrow — Right arrow (130% width)
hyd-rarrows — Short right arrow (100% width)
Click save and view your page.
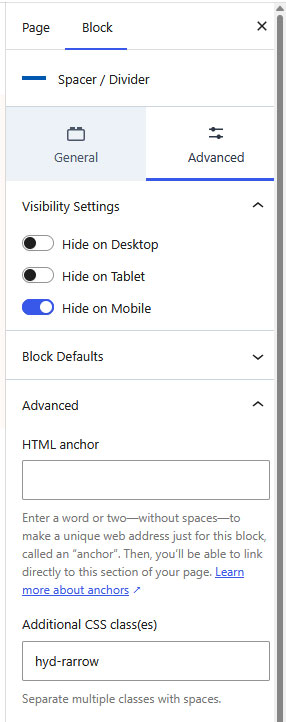
CSS Classes
Add this class to apply the accent. Simply click to copy.
MOBILE TIP
If the arrow doesn’t make sense on mobile layouts, you can hide it.
- Select the Spacer/Divider block.
- Open the Advanced tab.
- Enable Hide on Mobile.
This keeps your desktop layout intact while preventing awkward arrow placement on smaller screens.
What it does
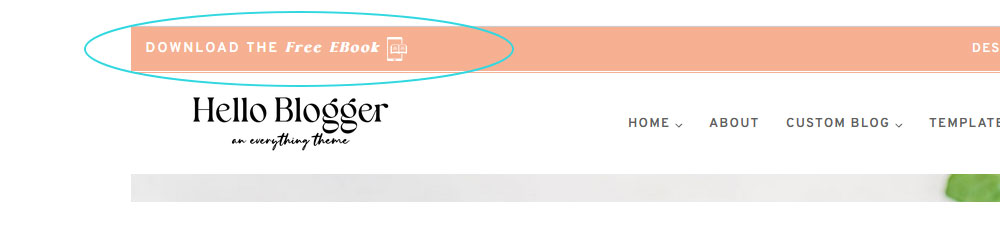
Allows you to style the top menu bar
Button
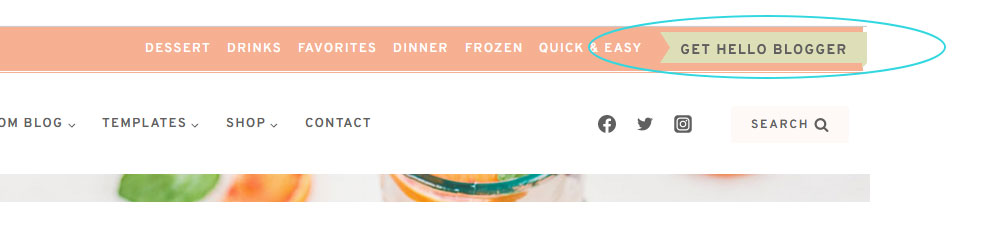
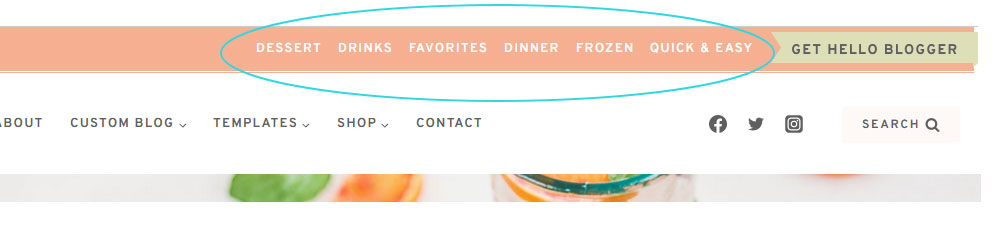
Secondary Menu
Optional Optin
WHAT IT DOES
Updates the call-to-action button displayed in the top announcement bar.
HOW TO USE IT
1. Go to Appearance → Customize → Header.
2. Click the Button element in the header builder.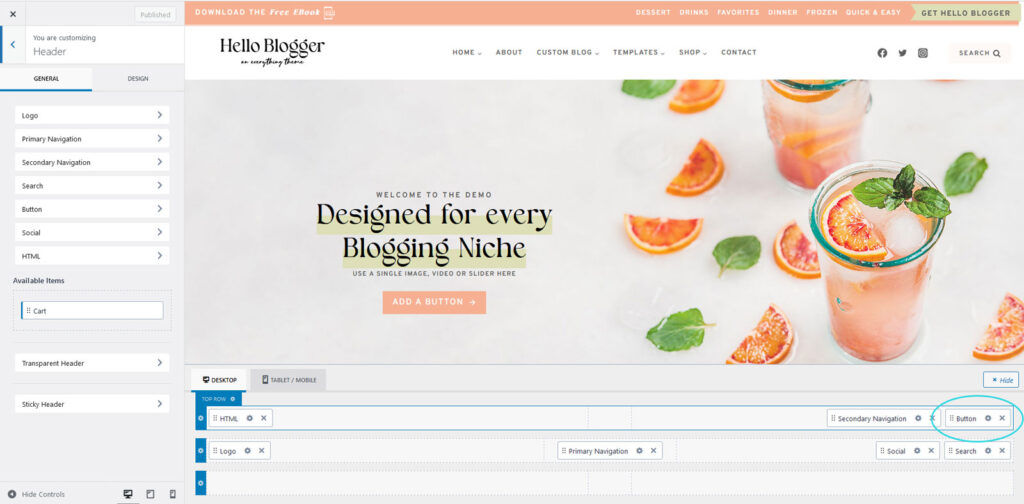
3. Update the button text and destination link.
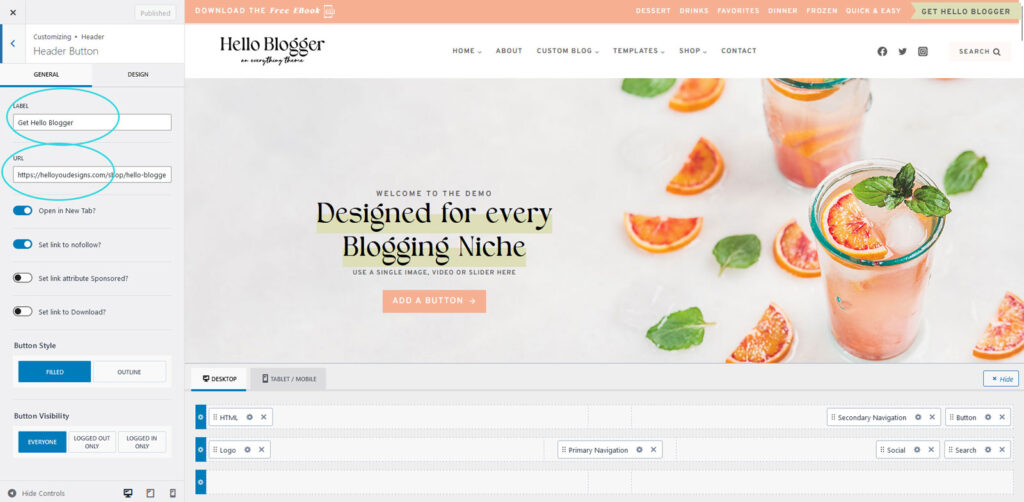
4. Open the Design tab to customize the button colors.
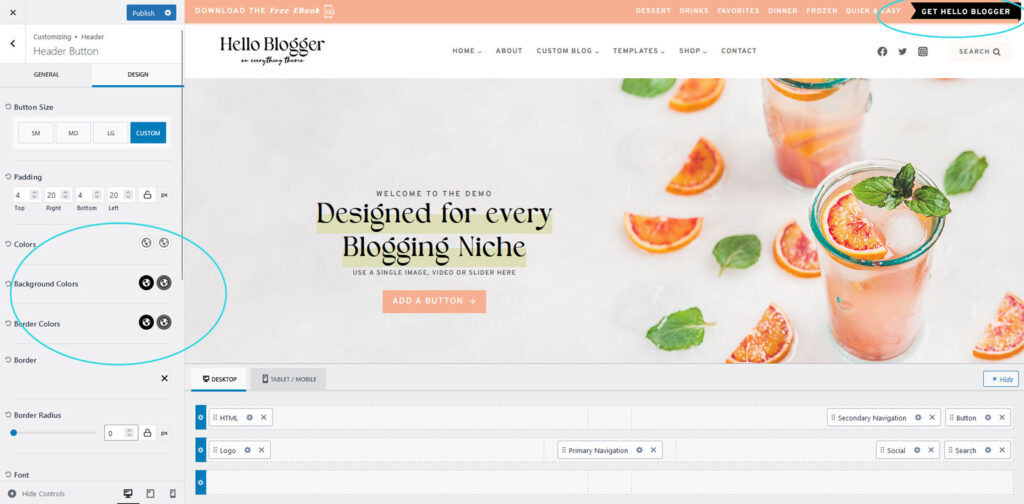
5. Publish your changes.
QUICK TIP
The demo styling is already included. Simply update the wording, link, and colors to match your brand.
WHAT IT DOES
Adds a second navigation menu to your header for links like Recipes, Categories, or Quick Links.
HOW TO USE IT
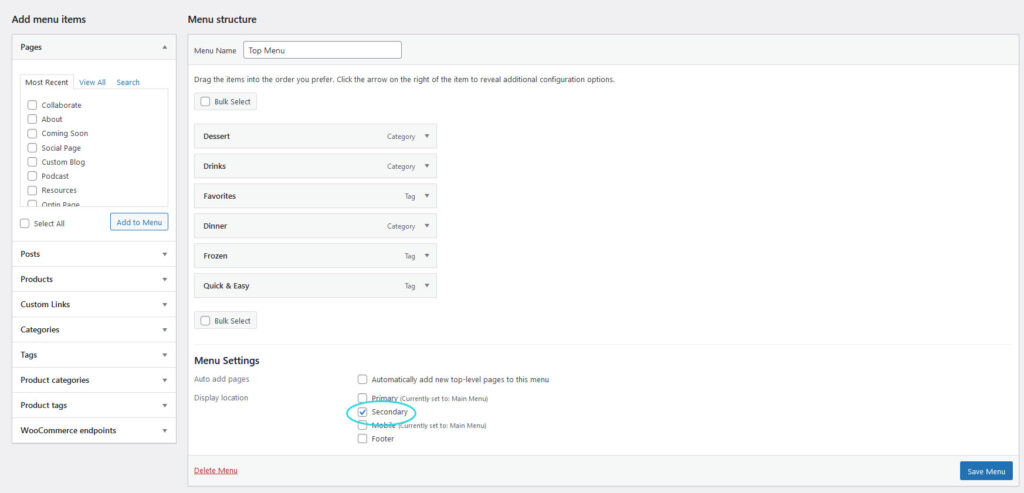
1. Go to Appearance → Menus.
2. Create a new menu with the links you’d like to display.
3. Assign the menu to the Secondary Navigation location.
4. Go to Appearance → Customize → Header.
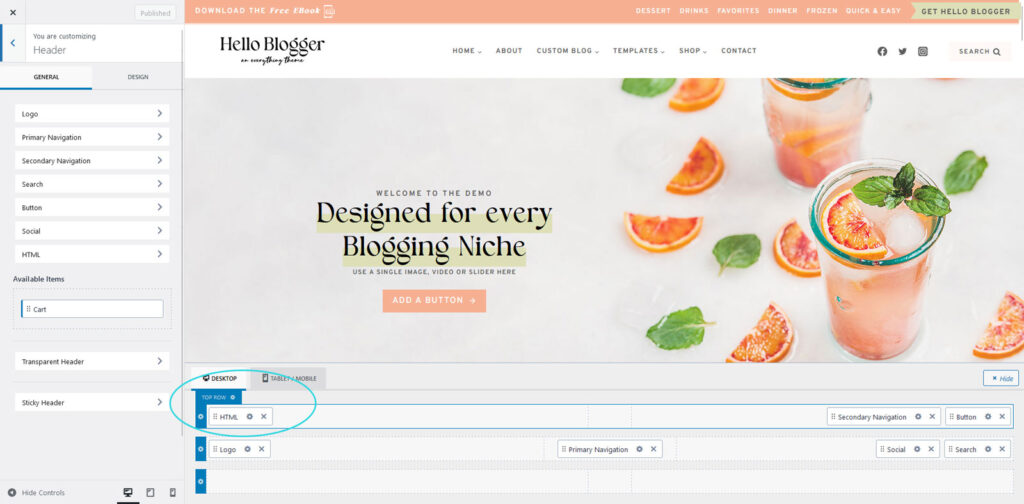
5. Drag the Secondary Navigation element to your preferred location in the Header Builder.
6. Publish your changes.
WHAT IT DOES
Adds a custom opt-in or announcement to the top header using text, links, and an optional icon.
HOW TO USE IT
1. Go to Appearance → Customize → Header.
2. Select the HTML element in the Header Builder.
3. Add your wording.
4. Highlight the text you want to link, click the Link icon, and add your URL.
5. Insert your icon or image if desired.
6. Publish your changes.
STYLING HELP
- Italic text automatically uses your Header Font, allowing you to mix two font styles just like the demo.
- The demo icon is approximately:
- Width: 20px
- Height: 25px
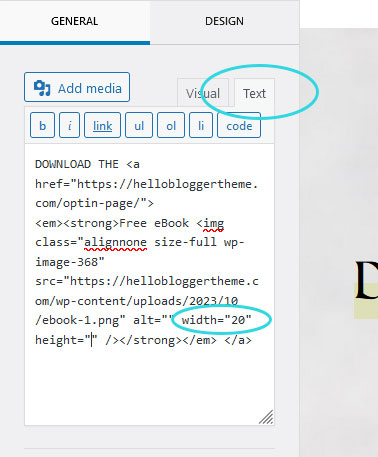
If your uploaded image is too large:
- Click the Text tab.
- Find the
width=""attribute. - Change the value to approximately 20px (or whatever size looks best).
VIDEO TUTORIAL
Learn to Use Your Block Library
Learn how to use your Block Library with confidence. This video covers browsing your library, adding blocks to your pages, editing content, moving sections, and customizing layouts to fit your website.
QUICK START
Quick Answers & Tutorials
Find quick answers to the questions we hear most often, or browse step-by-step tutorials for more detailed guidance.
Everything you need to customize
your theme from start to finish.

Popular Tutorials
Step-by-step guides
The most common tutorials our users find helpful.

Popular Questions
Quick Answers
Browse answers to the questions users ask most often.

Still need help?
We’re happy to help! If you couldn’t find the answer you’re looking for, send us a support ticket and we’ll get back to you as soon as possible.
Changelog
Follow the evolution of your theme. Every new feature, improvement, and bug fix will be documented here, so you can quickly see what’s changed.
Found an issue or have an idea for a future release? We’d love to hear from you.