Theme Documentation
Hello Willow
Your go-to resource for everything about your theme. Find setup guides, customization tips, and answers to common questions.
Theme Overview
Here you will find the basics to run your theme like the demo. We have also included additional details like the fonts, and demo colors.
Plugins
* are required for theme function
Requirements
WordPress 6.3+
PHP 8.2+
Required Plugins x2
Colors
#69262D
Palette 1
#AC8866
Palette 2
#334635
Palette 3
#171A1A
Palette 4
#3B3E42
Palette 5
#DBDBDB
Palette 6
#D5C7BE
Palette 7
#F1F1F1
Palette 8
#F7F7F7
Palette 9
#ffffff
Palette 10
Fonts


Custom Code
Built-In Styling Options
Use these optional CSS Classes to add theme specific design details to your layouts. These classes are completely optional and can be used in the Additional CSS Class(es) field for any compatible element in the editor.

What it does
Adds a decorative underline beneath your navigation menu items. The color is automatically tied to Palette 1.
Example

How to use it
Go to Appearance → Menus, select the menu you’d like to edit, then expand the menu item you want to customize.
Add the provided CSS class to the CSS Classes field and save your menu.
Don’t see the CSS Classes field?
No problem! Click Screen Options in the top-right corner of the page and enable CSS Classes. You can then expand any menu item to access the field.

CSS Classes
Add this class to apply the accent. Simply click to copy.
What it does
Adds a decorative swoosh behind your text. Choose from Color or White. The Color swoosh automatically matches Palette 1 from your global color palette.
Example
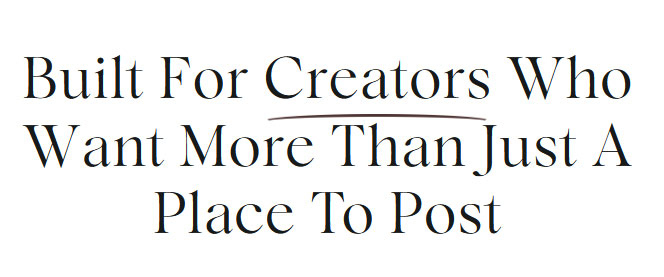
How to use it
Create your heading. Then select the words you would like to be underlined and apply the Italic styling to those words only.
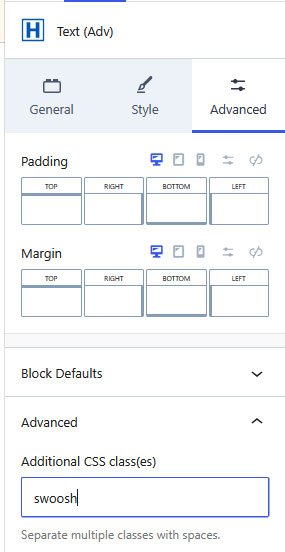
In the editor to the right, click on Advanced and then the Advanced Tab.
In the Additional CSS Class(es) field, add one of the classes from the list
Save and preview your page.
CSS Classes
Choose one of the following classes to apply different tape styles. Click to copy.
What it does
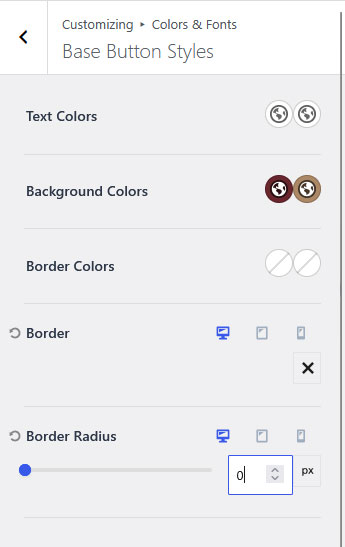
Switch between rounded and traditional square buttons with a single setting.
Example
How to use it
Go to Appearance → Customizer → Colors & Fonts → Base Button Styles
Under Border Radius, change the value from 30 to 0 to switch from rounded buttons to a traditional square style.
Save and preview your page
VIDEO TUTORIAL
Learn to Use Your Block Library
Learn how to use your Block Library with confidence. This video covers browsing your library, adding blocks to your pages, editing content, moving sections, and customizing layouts to fit your website.
QUICK START
Quick Answers & Tutorials
Find quick answers to the questions we hear most often, or browse step-by-step tutorials for more detailed guidance.
Everything you need to customize
your theme from start to finish.
Popular Tutorials
Step-by-step guides
The most common tutorials our users find helpful.
Popular Questions
Quick Answers
Browse answers to the questions users ask most often.

Still need help?
We’re happy to help! If you couldn’t find the answer you’re looking for, send us a support ticket and we’ll get back to you as soon as possible.
Changelog
Follow the evolution of your theme. Every new feature, improvement, and bug fix will be documented here, so you can quickly see what’s changed.
Found an issue or have an idea for a future release? We’d love to hear from you.